You want your indoor garden to thrive, but manually managing grow lights feels like a chore. What if your lights could work on autopilot, syncing with your daily life and your plants’ precise needs? That’s the power of integrating smart grow lights with your home automation system. It moves you from simple timers to intelligent, responsive plant care.
This integration is about creating a seamless environment. Your lights can turn on at sunrise, dim when you watch a movie, or adjust their spectrum as your seedlings mature. Its a practical upgrade that saves time and optimizes growth. For a reliable starting point, many gardeners find success with the Necgemlex Smart LED. It offers WiFi connectivity and app-based control, making it a strong candidate for your first automation project.
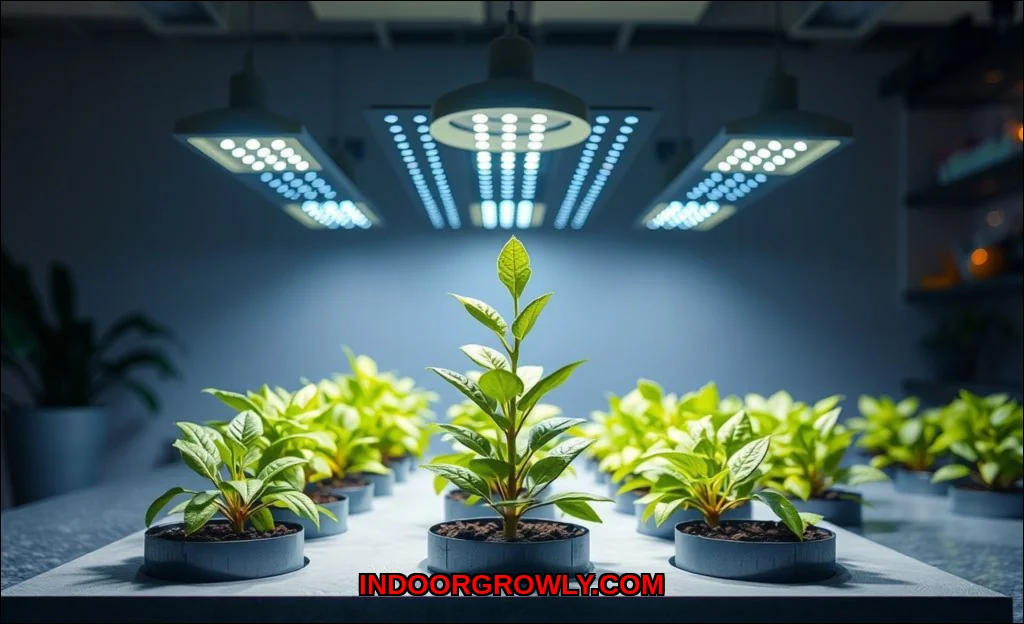
What Smart Grow Lights Bring to Your System
Not all grow lights are created equal for automation. A basic plug-in light with a mechanical timer is a closed loop. True smart grow lights are IoT devices. They connect to your network and offer programmable features that become automation building blocks.
Key capabilities to look for include:
- Wireless Protocols: This is the language your light speaks. WiFi lights connect directly to your router. Zigbee and Z-Wave lights require a hub but create a more robust, low-power mesh network. Protocol compatibility is the absolute key to seamless home automation integration.
- Light Spectrum Control: Advanced lights let you adjust color ratios (e.g., more blue for vegetative growth, more red for flowering). This allows for stage-based automation.
- Intensity Dimming: The ability to set brightness from 1% to 100% is crucial for simulating dawn/dusk or adjusting for plant sensitivity.
- App-Based Scheduling: While you’ll often bypass the native app for automation, its features indicate the light’s intelligence. Look for customizable automated lighting schedules.
These features transform a simple light into a dynamic tool. You can learn more about the science behind these features in our guide on how smart grow lights improve indoor plant health.
Choosing Your Home Automation Ecosystem
Your home automation hub is the brain. Your smart grow lights are the limbs. They need to understand each other. Your choice of ecosystem will dictate which lights and integration methods work best.
Major Platforms and Compatibility
Most integration happens through these popular systems:
- Amazon Alexa / Google Home: Excellent for voice control and basic routines. You’ll typically say, “Alexa, turn on the grow lights.” They work best with WiFi or Zigbee lights (via a compatible hub like the Echo with built-in Zigbee).
- Apple HomeKit: Offers robust automation scenes and a focus on privacy. Compatibility is more selective; you’ll need lights that are officially HomeKit-certified or use a bridge.
- SmartThings (Samsung) & Home Assistant: These are power-user platforms. They offer deep, complex automation. SmartThings is hub-based and user-friendly. Home Assistant is incredibly powerful and local-first, ideal for Zigbee grow lights and creating complex plant care automation.
The expert insight here is simple: check compatibility before you buy. A WiFi or Zigbee smart grow light will integrate far more easily with these major ecosystems than a proprietary Bluetooth model.
Your Step-by-Step Integration Guide
Let’s get your lights connected. The process is straightforward if you follow these steps.
1. Establish the Foundation
First, ensure your home automation hub or app (like Google Home or SmartThings) is set up and running. Then, install your smart grow light according to its manual, using its native app (e.g., Tuya, Smart Life, proprietary brand app) to connect it to your WiFi or paired hub. This step is non-negotiablethe light must be online in its own ecosystem first.
2. Connect the Light to Your Main System
Now, open your primary automation app (like Google Home). Tap “Add Device” or similar. The app should search for and discover your newly installed light. Follow the prompts to link the accounts if necessary. For how to connect smart grow lights to Google Home, this usually involves signing into the light’s “works with Google” service. For hub-based systems like SmartThings, you’ll add the device through the hub’s interface.
3. Organize and Label
Once added, rename your device clearly. “Basement Grow Light” or “Herb Garden Light” is better than “LED Strip 1A2B.” Assign it to a room (“Greenhouse,” “Sunroom”). This organization is critical when creating voice commands or room-based scenes later.
Creating Intelligent Automation Routines
With the connection made, the real magic begins. Move beyond simple on/off schedules to dynamic automation routines.
Basic: The Set-It-and-Forget-It Schedule
This mimics a traditional timer but is more reliable. In your automation app, create a routine that turns the lights on at 7 AM and off at 9 PM. You can even add a gradual ramp-up at “sunrise” if your lights support dimming. This is your foundational automated lighting schedule.
Intermediate: Sensor-Driven Actions
This is where home automation shines. Use other sensor data to trigger your lights.
- Motion or Occupancy: Set lights to turn on at 50% brightness when motion is detected in the room during daytime hours, then off after 15 minutes of inactivity.
- Ambient Light Sensors: Create a routine that only turns the grow lights on if the natural light in the room falls below a certain lux level. This saves energy and supplements natural light perfectly.
Advanced: Plant-Specific Programming
This leverages the full potential of light spectrum control and intensity. You create routines based on plant type or growth stage.
- Seedling Stage: Program 18 hours of light with a higher blue spectrum ratio at moderate intensity.
- Flowering Stage: Switch to a 12-hour photoperiod with increased red spectrum and full intensity.
You can trigger these stage changes manually in the app or, in advanced platforms like Home Assistant, base them on a calculated calendar date from planting. For those interested in the nuances of setting up automated light cycles for indoor plants, fine-tuning these spectrums is where you’ll see the biggest impact. Our article on how smart grow lights enable fine-tuned growth testing delves deeper into this process.
Advanced Tips for Optimal Growth
To become a true smart gardening expert, consider these next-level strategies.
Use Smart Plugs as a Gateway
Have a great “dumb” LED grow light? Don’t replace it. Plug it into a smart plug. You can now automate its on/off schedule through any major ecosystem. While you lose spectrum and dimming control, you gain basic scheduling automation at a lower cost. It’s a perfect entry point.
Integrate with Weather and Calendar
Some platforms allow external triggers. Imagine your grow lights subtly increasing their intensity and duration during a forecasted week of gloomy weather, pulling local weather data automatically. Or, have them automatically turn off during events labeled “Movie Night” on your family calendar.
Create Whole-Home Scenes
This is the ultimate convenience. A “Good Morning” scene can raise your blinds, start the coffee, and turn on the grow lights at 30% intensity. An “Evening” scene can lock doors, set alarms, and ensure all grow lights are off for the night. It makes smart home gardening a natural part of your life.
Prioritize Local Control When Possible
Cloud-dependent devices can become unresponsive if the internet drops. For critical systems like a seedling grow-op, consider Zigbee or Z-Wave lights with a local hub (like Home Assistant). This keeps your automated plant lighting running even during an outage.
Common Pitfalls and How to Avoid Them
Even the best setups can hit snags. Heres how to troubleshoot.
| Issue | Likely Cause | Solution |
|---|---|---|
| Light won’t connect to hub/app | Protocol mismatch or weak signal. | Double-check WiFi/Zigbee compatibility. Move hub/router closer or use a repeater. |
| Automation routines fail randomly | Cloud service latency or device unresponsiveness. | Reboot the light and hub. For critical routines, migrate to a local-control platform. |
| Can’t control spectrum via automation | Native light features not exposed to the hub. | Research if your specific light model exposes these controls. You may need to use the light’s own app for spectrum changes. |
Integrating smart grow lights with home automation isn’t just a tech project; it’s a new approach to plant care. You start with a simple schedule, then layer in sensors, data, and intelligence. The goal is a garden that almost manages itself, giving you more time to enjoy the results. Begin by choosing a compatible light, connect it to your existing system, and build one routine. You might just find its the most rewarding upgrade in your smart home. For further research on selecting the right hardware, authoritative resources like the University of Minnesota Extension’s guide to lighting for indoor plants and the Royal Horticultural Society’s grow light advice offer excellent, science-backed foundations.